Father’s Day was coming up and I was scrambling for ideas. My Dad mentioned he liked the Wooden Plant Stand that I made for my Mom last month so I decided to build a hanging wall shelf this time around. Once again, I was off to Pinterest for inspiration.
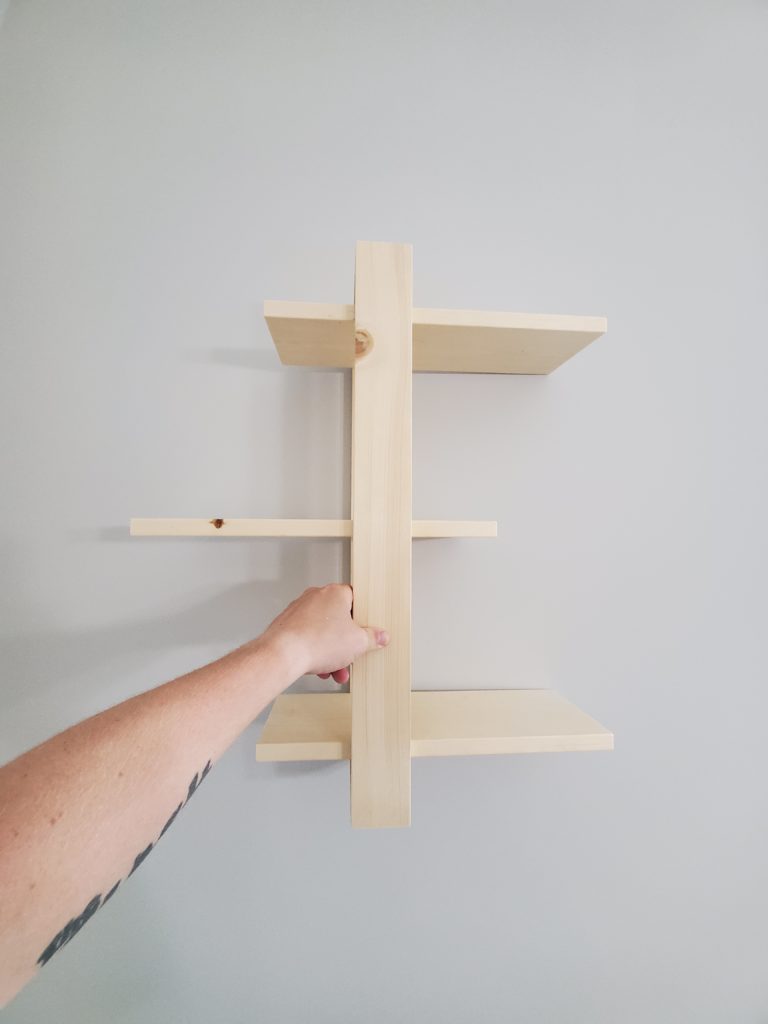
As you can see, the shelf I decided to build has a very clean, modern look. I chose to build it out of pine to maintain a lightweight shelf that would be easier for my Dad to mount on a wall. The whole build only took me 2-3 hours and most of it was waiting for the wood glue to dry.
Material List:
Because I chose pine, my materials were quite inexpensive (around $30). This must have been the quickest trip to the hardware store yet for one of my projects.
- 1″ x 3″ x 6′ pine lumber – 2 each
- 1″ x 6″ x 6′ pine lumber – 1 each
- Wood glue – I used Gorilla Wood Glue (only 30 minute dry time)
- 8 x 1 3/4 wood screws
- Clamps! Get yourself two large clamps that can be reused on any project – I went with 3 ft Dewalt clamps and highly recommend them
Cut List:
Start by cutting all the lumber you need to the correct lengths using a mitre saw or a circular saw. The mitre saw I use is a DeWalt 12 inch Mitre Saw. Mitre saws are worth every penny as they give you a nice clean cut for dimensional lumber.
1″ x 3″ pieces:
- 25″ lengths – 2 each (center frame supports)
- 5.5″ lengths – 2 each (top & bottom pieces)
1″ x 6″ pieces:
- 16″ lengths – 3 each (shelves)
Instructions:

- You’ll need to start with assembling the rectangle frame that holds the shelves together. Take the two center frame supports (25″ long) and the two top and bottom pieces (5.5″ long) and glue them together. Apply wood glue on the ends of the smaller pieces and use your clamps to hold everything together.
- Once the glue is dry, remove the clamps and stand upright.
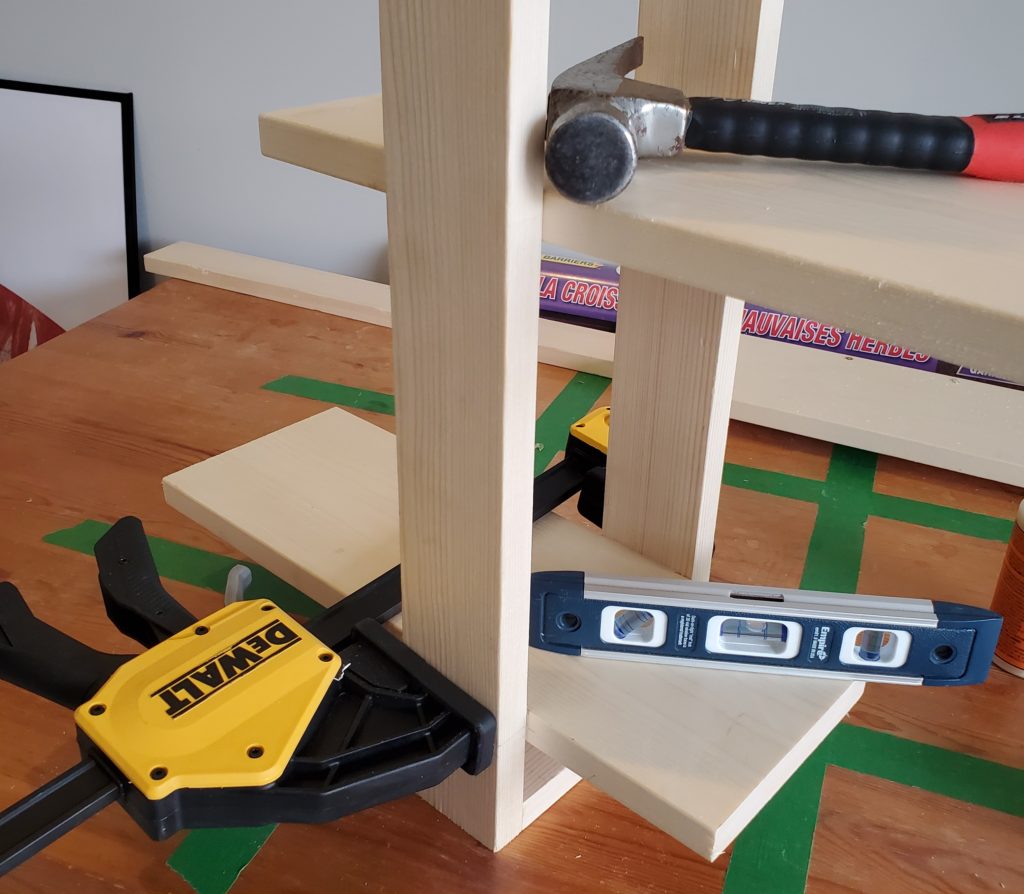
- With the frame upright you’ll be able to clamp the shelves in place and set a level on the shelf to make sure it is not sloping in either direction. I started with the middle shelf which is set directly in the middle of the frame (centered 12.5″ from the end of the frame).
- When setting the middle shelf you’ll want to leave 4 inches of shelf protruding from the frame on the short side. This leaves you 9.5 inches of shelf protruding on the long side. Apply the glue and clamp in place making sure the shelf is level before you walk away.
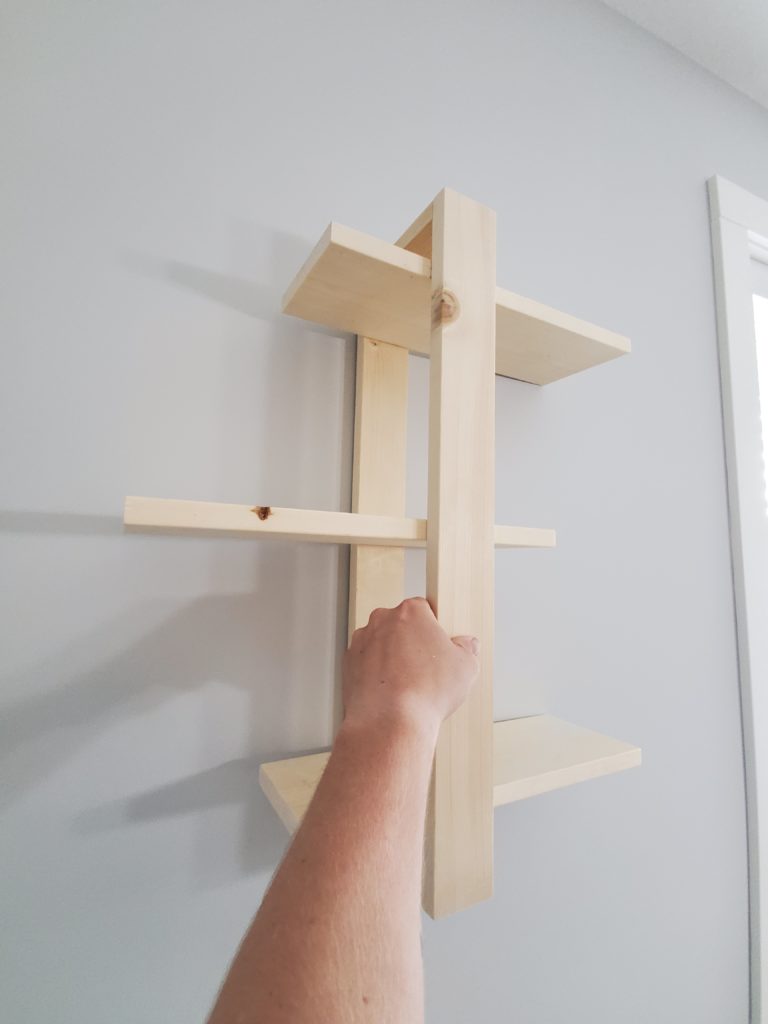
- I set the top and bottom shelves 2.75″ from the end of the frame to the center of the shelf. Once again, get the shelves close, glue in place, apply the clamp and make sure it is level. Leave 4″ of shelf protruding on the short side and 9.5 inches on the long side. Set the long side of these shelves on the opposite side as the middle shelf as shown below.

- It now looks like you’re all done but there’s one important step left. Decide which side of your wall shelf unit is the back side and add two screws through the back side of the frame and into each shelf (evenly spaced). This is simply to fortify each shelf so that you don’t have any issues with the glue losing its strength over time. No need for any screws on the front side – you’ll want to keep that clean, modern, screwless look.
Congratulations, you’re done! As far as projects go, this modern wall shelf design is a nice simple build that looks great on your wall. I’m sure this will be the first of a few different shelf designs so stay tuned for more!

My goal is to share my insight on simple projects that will help brighten up your home and give you satisfaction as a craftsmen. Join us in finding new sources of inspiration for your next project!